![]()
Technical Information
Making sure that your image prints correctly to your specific requirement we know is essential. Printing is all about variables, getting your technical setup is correct is vital to controlling these variables to give you the confidence so that what you see on screen is a accurate as possible to the finished print. We realise that getting your technical setup correct can be a minefield which is why we have put together some helpful simple information on how to setup your computer and monitor and prepare your files for print.

Monitor Calibration
Having your monitor calibrated is the first step into getting consistent and accurate results. There are many different calibration solutions available but they all work in a similar way. They stop your monitor from brightening, darkening or changing the colour of what you view on screen.
A monitor calibration consists of a software that you install onto your computer and a calibration device that plugs into your computer via USB and which your place on your monitor.
First adjust the base settings of your monitor. Each monitor has different options available but use these below as guide. For specific instructions, please see your device manual.
- Luminance 120 Candelas m2
- Gama 2.2
- Colour Temperature 6500k
- Black Level Minimum
Then start the software, it will start the calibration process which the calibration device will measure. Once this has finished it will create what is called a monitor profile. Choose this profile in your screen settings on your computer and you are now setup. Its good practice to recalibrate every few months to compensate for your monitor getting older.
Controlling the lighting environment in the room so that you work is also important. Having fixed lighting in the room will help your achieve a more consistency in your printing.
Image Preparation
Preparing your images to our requirements is important so that your supplied image prints correctly with our printers.
Our image requirements are:
- Images embedded with colour space sRGB IEC 61966-2.1
- Sized at the print size at 300dpi
- Ensure a 6mm safe margin
- Images saved as a .jpg quality no lower then 10
Convert to profile – If your images are in another colour space, Adobe98 or ProPhoto RGB. Please make sure you convert to profile rather that assign profile. If you choose assign profile option any colours outside of sRGB colour space will be lost. This will result in a flat desaturated image.
Sized to ordered print size – While we have a crop tool at the upload stage. For best results we highly recommend that the image is cropped to the ordered print size at 300dpi. This will result in the best print quality.
Safe Margin – Please ensure when you crop your images to leave a safe margin of around 3mm on every edge of the image. Giving this extra space around your subject will ensure that vital parts of the image is lost.
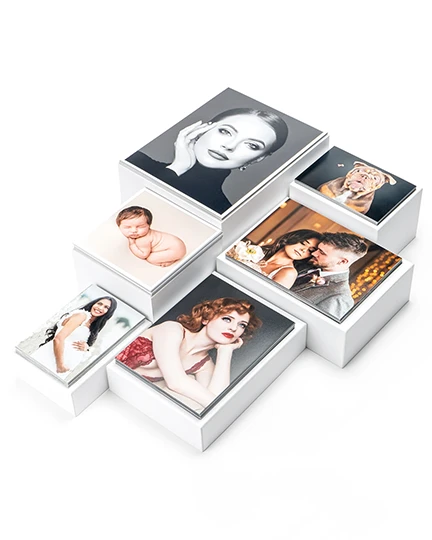
Test Print Service
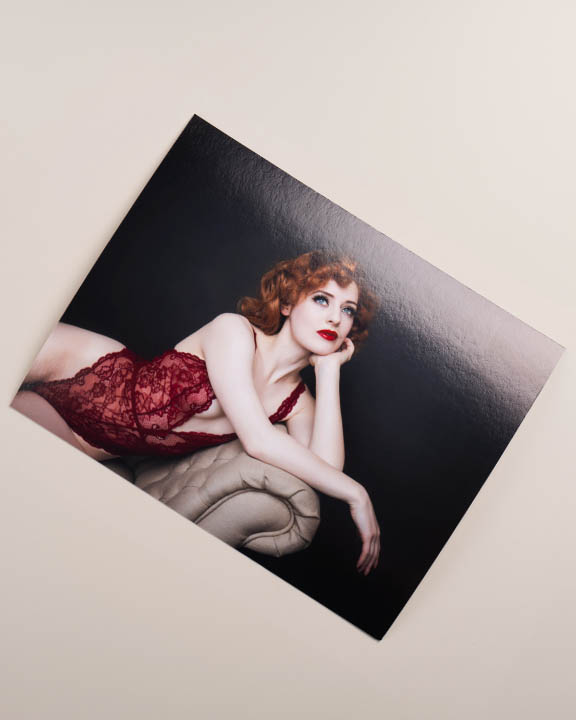
At tone we believe the best way to accurately check that the your image will print correctly is to see a physical test print of the image before placing an order for the main print.
If its your first order or you have recently setup or calibrated a monitor. We recommend choosing our C-Type Lustre or Fine Art Lustre papers. The bright white paper base on both these papers gives a perfect reference and removes the variable of the paper having an affect on the image.
When you viewing your test prints, we recommend looking at them under natural light and away from any walls which could cause a colour cast. If you wish to adjust the image the best way is to create action in photoshop. This way you can create a set of settings that you can easily apply to your images before ordering.
If placing an order on one of our fine art papers we recommend that you place a test print on the paper before playing the main order. The fine art giclée papers have a warmer base tone to the paper which can change the look and feel of your image.
Need Help?
If you have any questions or would like advice then please get in touch where a member is ready to help.
You can contact us via phone, email or arrange to make a appointment at our London office.